
Contents
In modern veterinary medicine, skin staplers have become a trusted solution for fast, sterile, and precise wound closure. They allow for smooth incision alignment, reduced anesthesia time, and minimal trauma to the animal. However, equally important is knowing the right method to remove surgical staples once healing is complete.
Improper staple removal can lead to discomfort, skin tearing, or delayed skin healing. For veterinarians and veterinary assistants, following proper techniques ensures both animal safety and smooth recovery. This guide covers how to safely remove staples from surgical wounds, what tools to use, and how to prevent complications during post-operative care.
Surgical staples are small stainless steel staples used to close skin incisions after surgery. They provide even wound tension and are especially effective in thick-skinned or muscular animals where traditional sutures may not hold well.
Most veterinary skin staplers are preloaded with regular or disposable staples for single-use applications. These devices make surgical closures faster and more uniform while lowering infection risk through sterile operation.
For large dogs, horses, and other animals with thicker dermal layers, staples ensure firm, reliable wound closure throughout the recovery period.
The timing to remove disposable surgical staples depends on the wound location, the animal’s age, and its overall healing rate. Removing them too soon may reopen the incision, while waiting too long can cause staple adherence or embedment.
A veterinary professional should always evaluate the wound before stapler removal to confirm that adequate skin healing has occurred.
Proper preparation ensures safe and stress-free removal. Before beginning, gather the following supplies:
Begin by closely examining the surgical wound. The skin should appear smooth, closed, and free from redness or discharge. If irritation or separation is visible, postpone stapler removal and reassess after additional healing.
Use antiseptic solution to remove dirt or debris. Avoid excessive rubbing, as new tissue can be delicate during this phase of skin healing.
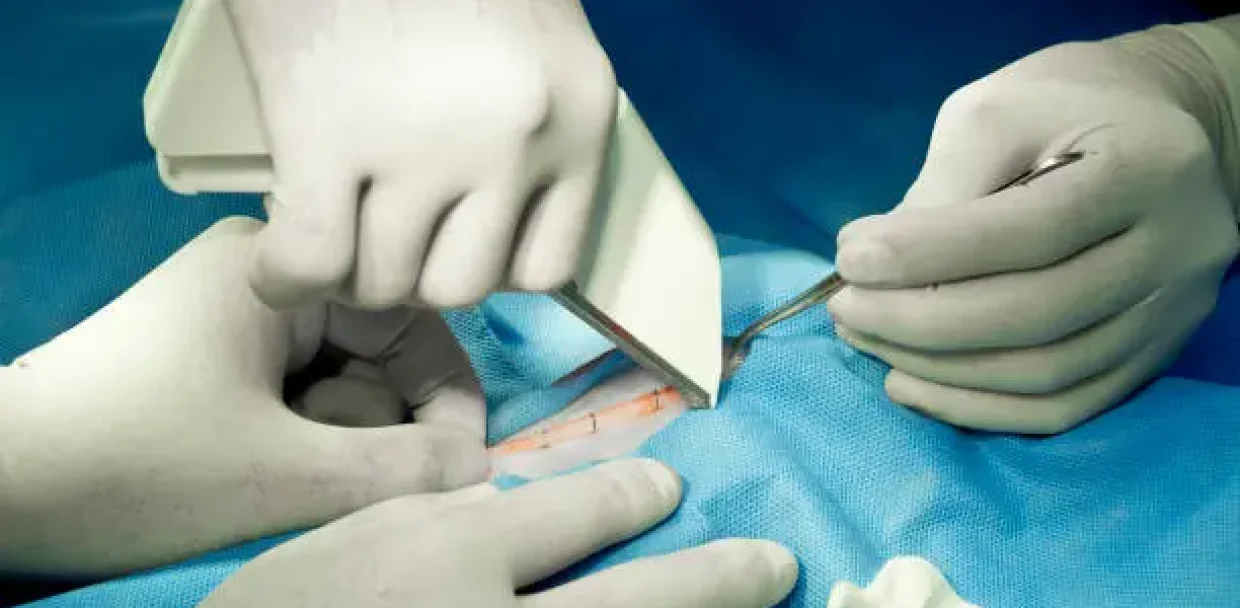
This method prevents the staple legs from dragging through tissue, minimizing pain and damage.
Remove each staple one by one, following the incision line. Avoid skipping around the wound to ensure a consistent process and reduce the chance of missing any staples.
Once all staples are removed, inspect for staple adherence or any remaining metal fragments. Wipe the area again with antiseptic and apply a thin layer of anti-bacterial ointment to promote healing.
Keep the incision site clean and dry. Apply light pressure with gauze if mild bleeding occurs. Continue restricting activity for several days to protect the area during the final stage of skin healing.
Effective post-operative care ensures that wounds heal properly and complications are avoided.
Gently clean the site daily using antiseptic wipes or diluted saline. Do not allow the animal to lick the area, an E-collar helps prevent self-trauma or contamination.
Check daily for signs of infection such as swelling, discharge, or foul odor. If any appear, contact a veterinarian immediately.
Minimize running, jumping, or stretching that could reopen the incision. Restricting physical activity supports stable wound closure during the final healing phase.
Over the next few days, the incision may appear slightly pink but should gradually fade. Scabs should form naturally and fall off without manual interference.
Even with proper technique, a few issues can arise during or after stapler removal:
If complications occur, clean the area and reapply anti-bacterial ointment, then schedule a veterinary evaluation.
Veterinary teams can ensure safe skin staple removal and excellent outcomes by following these best practices:
Following these techniques helps prevent discomfort and ensures the animal’s recovery remains pain-free and efficient.
Knowing how to remove surgical staples correctly is essential for every veterinary team. With proper preparation, sterile tools, and post-care management, animals can recover comfortably and quickly without complications. Correct timing, careful handling, and professional technique ensure that every wound heals with minimal pain and scarring.
At Strouden, we provide high-quality veterinary solutions like the Assut Europe Disposable skin stapler – Wide, 35 Staples (Box of 10). This reliable tool uses stainless steel staples for precise closures and effortless staple removal when healing is complete.
Contact us today to equip your practice with premium skin staplers and wound care supplies that ensure faster procedures, safer recovery, and lasting confidence in every animal surgery.
Veterinary staples should always be removed by a veterinarian or veterinary professional using a sterile surgical staple remover. The process involves cleaning the incision site, gently lifting each staple, and applying anti-bacterial ointment afterward to support safe skin healing.
Use a sterile staple remover, place its tip under the center of the staple, and apply gentle pressure to lift both ends evenly. This minimizes trauma, ensures clean staple removal, and promotes smooth skin healing without reopening the incision.
In most cases, veterinarians remove staples after 10–14 days, depending on wound size and location. Areas under tension or movement may require longer skin healing time. Always consult your vet before attempting early staple removal.
It’s not recommended to remove staples at home. Staple removal requires sterile tools and proper evaluation of wound readiness. Removing them prematurely can cause infection, bleeding, or wound reopening, delaying overall skin healing.
Some dogs may need light sedation if they are anxious or in pain during staple removal. Most animals remain calm with gentle handling, but sedation ensures safety for both patient and veterinary professional during the procedure.